
Why install a web development environment?
Have you ever wanted to host you own website or web application on your home PC? Develop and test locally before uploading to a public server? Have complete physical control over all system components? Tinker with server configurations without having to worry about unintended consequences, errors or downtime?
All this and much more can be achieved by installing the requisite server applications on your local machine. This article outlines the installation and configuration of the Bitnami WAMP (Windows, Apache, MySQL and PHP) stack on Windows 8.1.
Contents
- Terminology
- How are web requests served?
- Installing the Bitnami WAMP web development stack
- Separating program files and web documents (optional)
I. Terminology
client
computer application, such as a web browser, that runs on a user’s local computer or workstation and makes requests to a server as necessary
server
computer application that ‘serves’ (i.e. sends) information back to clients upon requests
web server
computer application that processes requests via HTTP, the basic network protocol used to distribute information on the World Wide Web, to serve web pages back to web clients (e.g. browsers)
II. How are web requests served?
Ok, a quick bit of theory to set the context:
Serving static content
Incoming web requests are transmitted over a network where they are physically received by a network card attached to a computer. The network card interprets the electric signal and presents the request to the operating system. The operating system reads in the request and passes it to the web server. If the request is simply to get a file, such as a webpage or image, the web server retrieves the file, passes it to the operating system, which passes it back to the network card which converts the response into an electric signal for transmission back to the client over the network.
This process can be illustrated as:

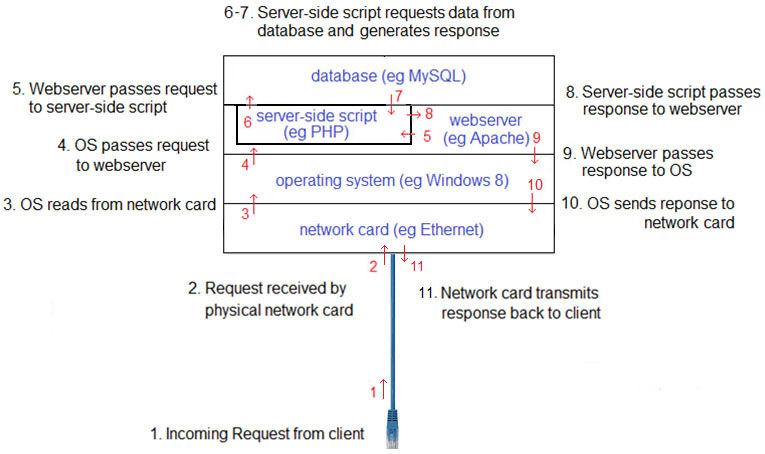
Serving dynamic content
If the content to be served varies depending on the values of parameters in the client’s request, the path traversed is slightly longer. In this case, the web server passes the request onto a server-side scripting application or module for further processing. The scripting module may request information from other server-side applications, such as a database, before generating the response, passing the response to the operating system, which passes it to the network card, which transmits it back to the client.
This process can be illustrated as:
Both scenarios can be handled by the Bitnami WAMP stack.
III. Installing the Bitnami WAMP web development stack
WAMP is comprised of MS Window’s versions of the Apache web server, MySQL database and PHP server-side scripting and provides a simple cohesive method for setting up a web development environment on a local machine.
1. Open your favorite browser and navigate to the Bitnami WAMP home page.
2. Download the current WAMP stack installer
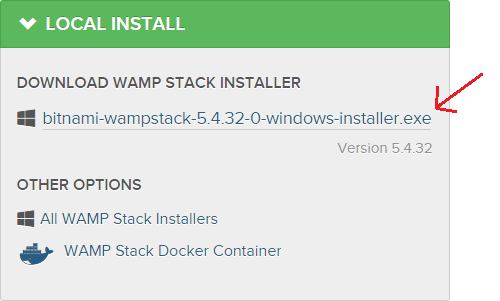
3. If you are asked to log in, just select “No thanks, just take me to the download”

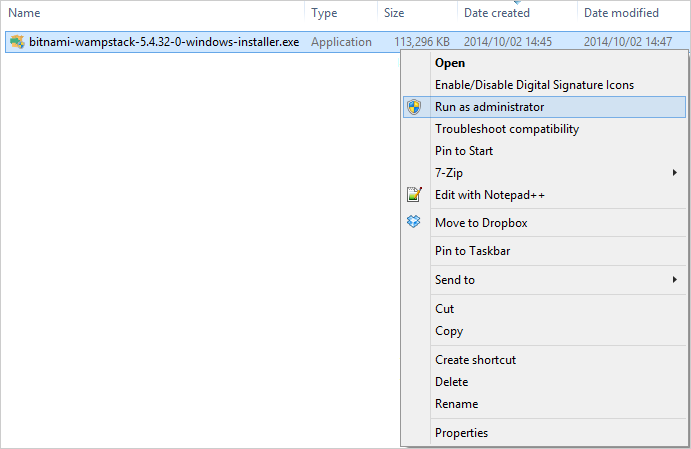
4. In File Explorer, navigate to where you saved your download, right-click it and select “Run as administrator”. It’s probably overkill to run as administrator but we’ll be making some non-standard configuration changes later and running as administrator can avoid some permission issues.
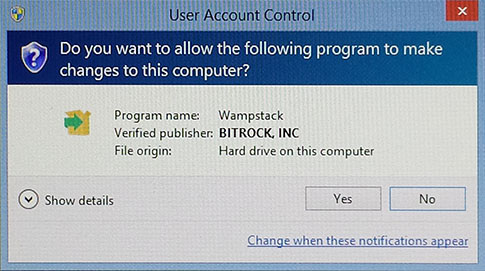
5.If prompted whether to allow this program to make changes to your computer, select “Yes”
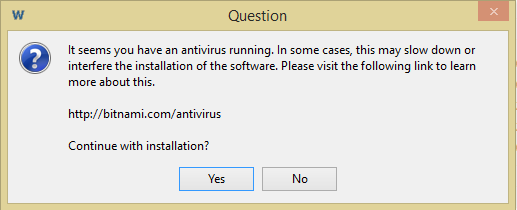
6. If warned about running antivirus (Windows Defender in this example), select “Yes” to continue the installation
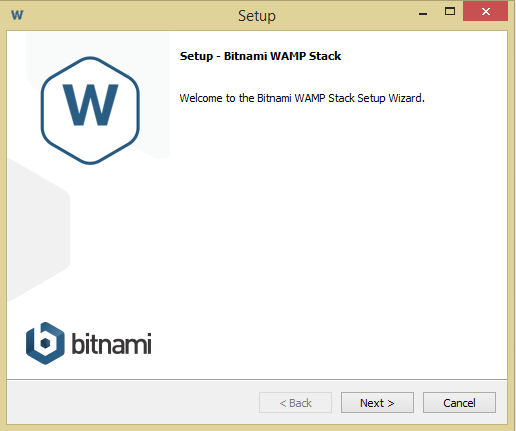
7. At the setup welcome screen, click “Next”
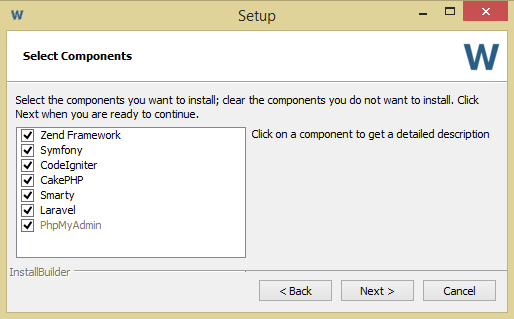
8. Select all optional components by placing a tick in the checkboxes, then click “Next”.
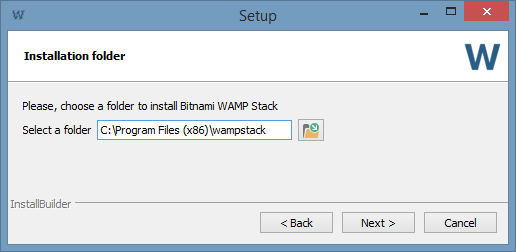
You will be prompted to select an installation directory. At time of writing the default is <drive letter>:\bitnami\wampstack<version> which in my case equates to C:\bitnami\wampstack\5.4.32-0Whilst this location works fine, I much prefer having all my programs together. In particular, I try to install all 64bit programs at C:\Program Files and all 32bit programs at C:\Program Files (x86). As the Bitnami WAMP stack is compiled to 32bit, I’ve chosen the latter location.
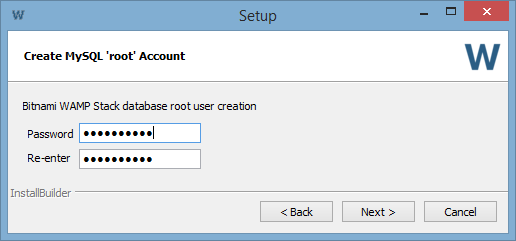
10. Select and enter a password for your new database. I’d recommend at least 10 characters, with a mixture of lowercase, uppercase and digits.
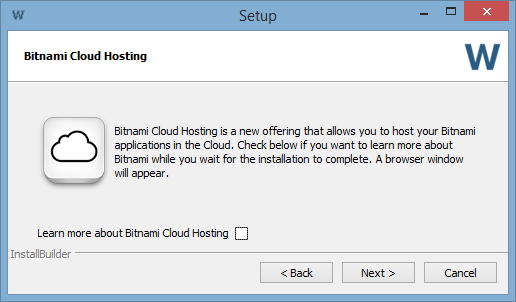
11. Bitnami Cloud Hosting is a server management solution that enables the launch and management of apps in the Cloud. As the purpose of this guide is to develop locally, clear the checkbox and click “Next”
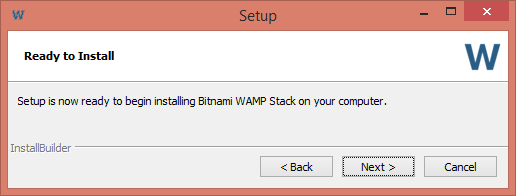
12. You are now ready to install Bitnami WAMP on your computer. Click “Next”
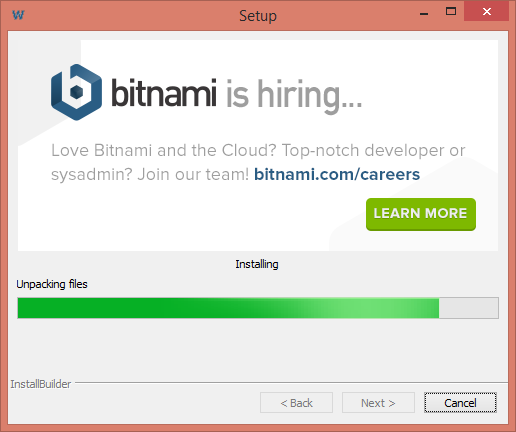
13. The installer will unpack and install Bitnami on your computer, configured using the values entered in previous steps
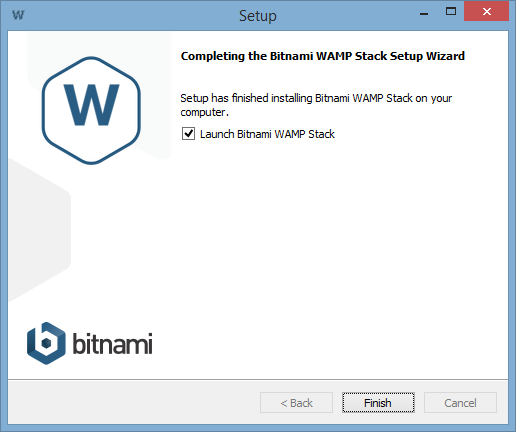
14. When prompted, check “Launch Bitnmai WAMP Stack” and click “Finish”
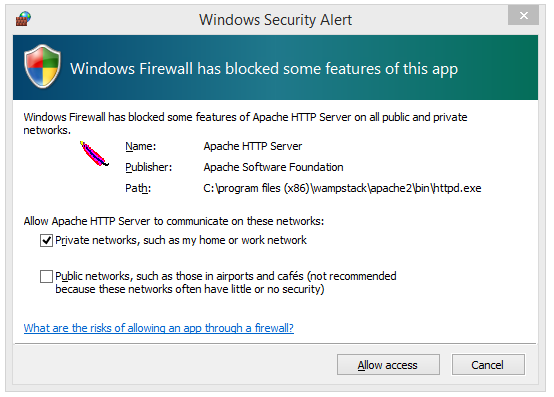
15. Windows may show a security alert requesting permission to allow Apache to communicate over a network. Recall that whenever your computer connects to a network for the first time (eg your home connection through your router, or a wifi hotspot at a cafe), you are asked to designate that network connection as private (eg your home router connection) or public (eg wifi at cafe).If you’re installing WAMP on a computer with a router between it and the internet, you’ve most likely designated that network connection as ‘Home’ or ‘Work’, in which case simply check the first option. Likewise, if you’re installing on a laptop, and you intend to have it serve web resources when you’re connected to public wifi, these networks are likely designated by you as “public” and for Apache to use these you’ll need to also check the second box. In this example, we’re installing on a home PC with a network connection designated as private, so only the first option is required
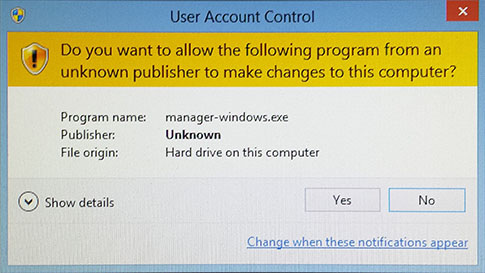
16.“manager-winows.exe” enables a user to start, stop and configure your servers. If prompted to allow manager-windows.exe to make changes, click “Yes”
That’s it, you’ve installed the Apache web server, MySQL database, and PHP scripting server.
The manager window will be displayed. From the “Manage Servers” tab you can start and stop your servers.
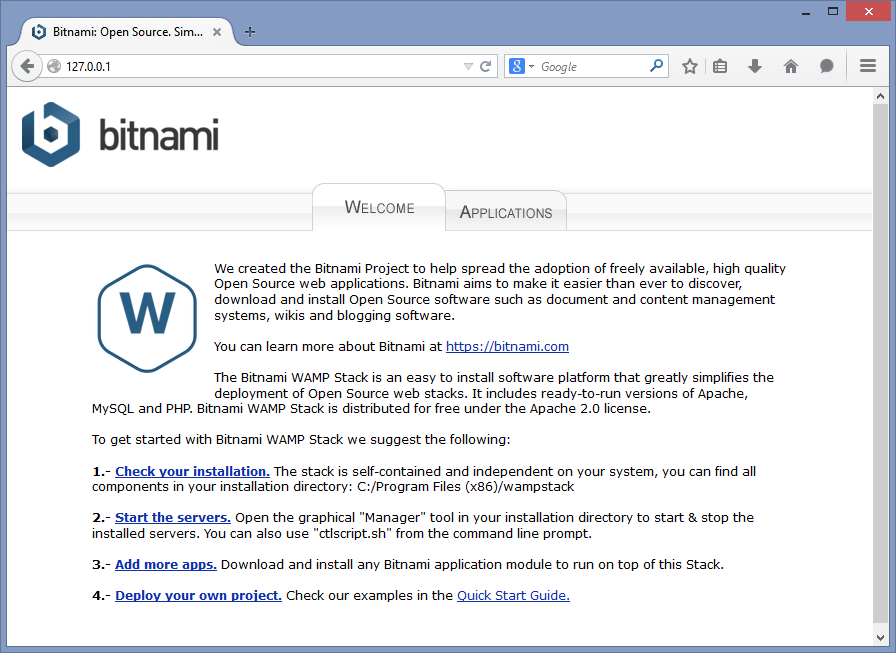
To check your servers are operating, open your favorite browser, open a new tab and enter 127.0.0.1 in the address bar. This is the address for ‘localhost’ and should display the following page.
IV. Separating program files and web documents (optional)
By default, documents served by your web server reside in the same installation directory as the Bitnami WAMP program files. In this example, this folder is located at C:\Program Files (x86)\wampstack\apache2\htdocs. So, for example, if you type 127.0.0.1/example.html in your browser address bar, the web server will try to find and return the file C:\Program Files (x86)\wampstack\apache2\htdocs\example.html.
This is fine on many machines. However in my case, I have a relatively small and fast SSD which contains the operating system and programs, and a relatively large and slow HD to store documents and files. To preserve precious SSD space, it’s therefore desirable to move the web document location from the SSD to the HD.
We can achieve this by modifying the Apache web server’s configuration files. These files have the extension .conf and can be edited using any text editor. Comments in .conf files start with the # character. I recommend notepad++ for editing .conf files.
When referring to file and directory locations, your file path may differ to this example depending on where you installed Bitnami WAMP. Please replace the red part of the example path with the path to your installation directory.
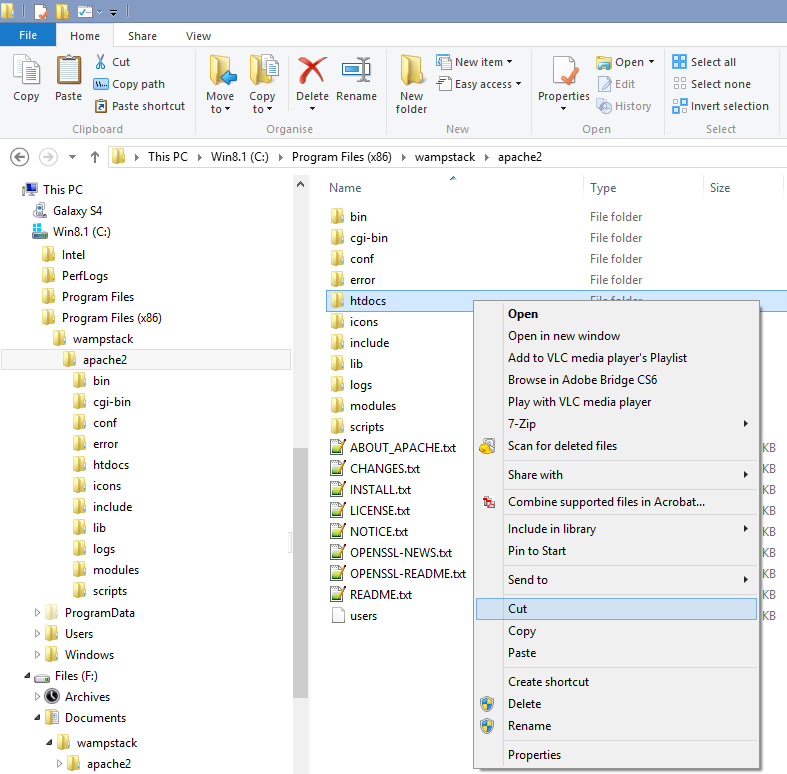
1. Open File Explorer and navigate to your document root, in this example this is located at C:/Program Files (x86)/wampstack/apache2/htdocs.
2. Right click on the folder htdocs and select ‘Cut’
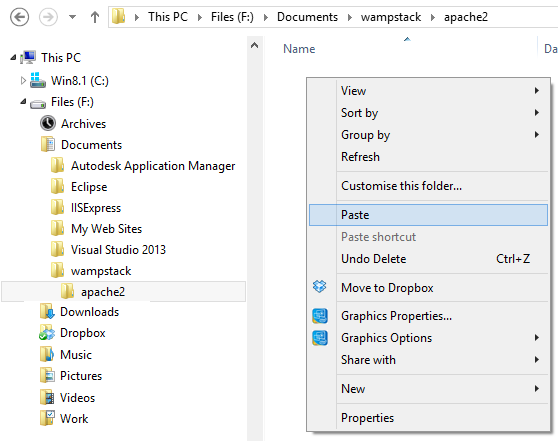
3. Create a directory where you would like to store your web files and documents, in this example we’ve chosen F:/Documents/wampstack/apache2.
4. Right click in your desired destination location and select ‘Paste’.
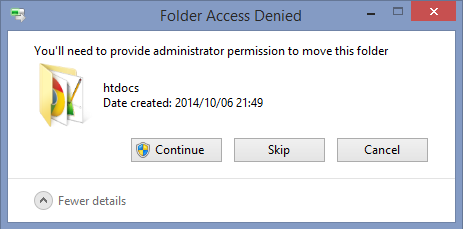
5. If you installed Bitnami WAMP in Program Files, you may be prompted to confirm the move, if so, click “Continue”
Your web documents will be moved to this new location. We now need to configure the Apache web server to point to this new folder location.
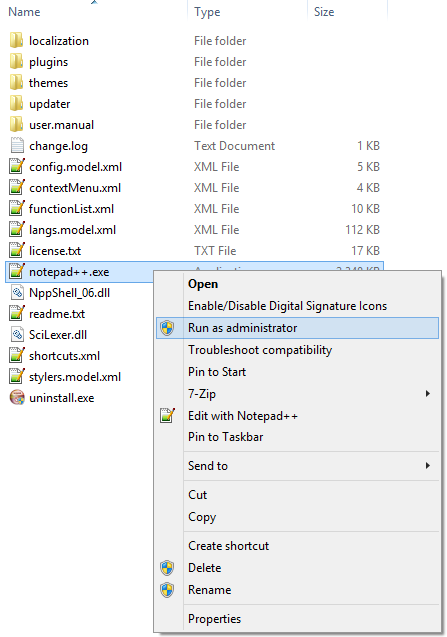
6. Open your text editor of choice. If, as in this example, you’ve installed WAMP in the Program Files directory, you’ll need to run your text editor as administrator to be able to save your changes.
7. From your text editor, select “Open File” and select http.conf, in this example located at C:\Program Files (x86)\wampstack\apache2\conf\http.conf.
8. Find all linesDocumentRoot "C:/Program Files (x86)/wampstack/apache2/htdocs"
and change it toDocumentRoot "F:/Documents/wampstack/htdocs"
or wherever you’ve moved yourhtdocs directory to (note the forward slashes!)9. Find all lines<Directory "C:/Program Files (x86)/wampstack/apache2/htdocs">
and change it to<Directory "F:/Documents/wampstack/apache2/htdocs">
10. Save and close http.conf.
11. Repeat steps 7 to 10 forbitnami.conf, located at C:\Program Files (x86)\wampstack\apache2\conf\bitnami\bitnami.conf
12. Repeat steps 7, 8 & 10 for ssi.conf, located atC:\Program Files (x86)\wampstack\apache2\conf\ssi.conf
That’s it, you’ve now configured Apache web server to point to your new web documents directory. We now need to restart Apache to reload this new configuration.
13. From the server manager window, select the “Manage Servers” tab, select Apache Web Server and click “Restart”. Apache will stop and restart, reading in the edited configuration files

Congratulations, if you’ve made it to this point you’ve successfully installed the Bitnami WAMP stack and relocated your web documents root directory. In coming posts we’ll learn to install and configure your own DNS, Mail and File servers, and lots of other neat tricks!